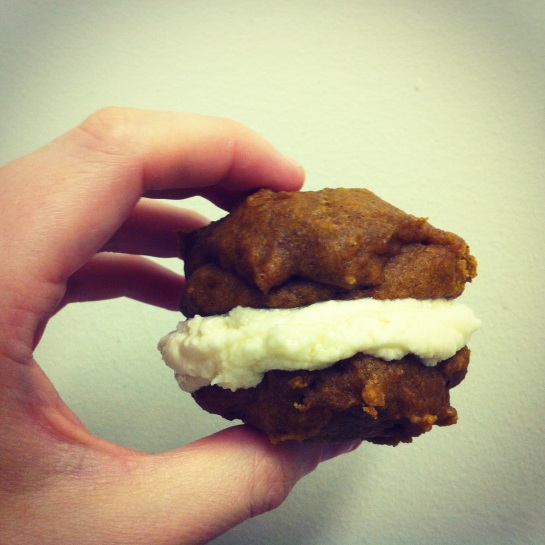
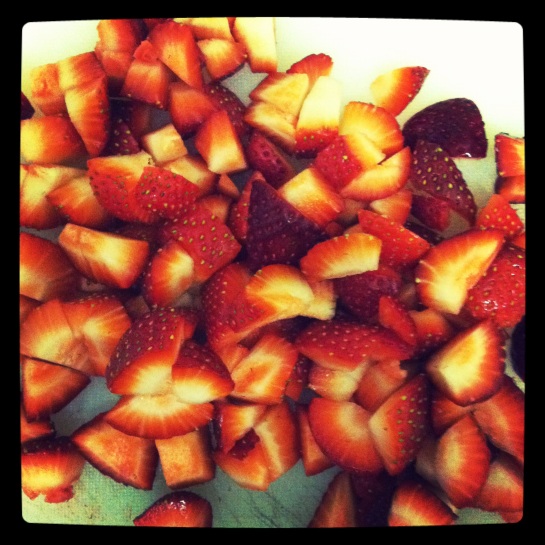
Image

Hello Friends!

It’s been a long while since I have put anything up.

With getting married, applying to a graduate program and everything else it’s been a hectic couple of months.

But here’s a fabulous little recipe that grabbed my attendtion as soon as I saw it.

I bought a bundt pan a long while ago but only really used it once or twice, this recipe is perfect for the pan.

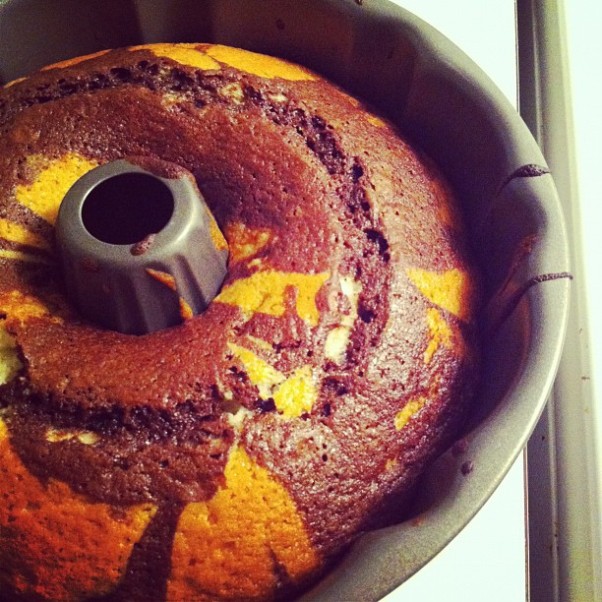
It’s a simple concept, two different types of batter poured into the pan alternately to create a zebra-like effect once you cut into it. DELICIOUS.

Zebra Bundt Cake

Ingredients:
Cake

  • 3 cups cake flour
  • 2 teaspoons baking powder
  • ½ teaspoon salt
  • 2 ½ cups granulated sugar, divided
  • ½ cup natural (not Dutch-processed) cocoa powder
  • 6 tablespoons water
  • 1 ½ cups unsalted butter, melted and cooled
  • 1 ½ teaspoons vanilla extract
  • 5 large eggs
  • ½ cup whole milk

Glaze

  • 6 ounces bittersweet chocolate
  • ⅔ cup heavy cream

Instructions:
To make cake

  1. Sift flour baking powder and salt into a bowl; set aside.
  2. In a separate medium size bowl add in ½ cup of sugar, the cocoa powder, and water then whisk until mixture is smooth; set aside.
  3. Place melted butter and sugar in a stand mixer bowl fitted with a paddle attachment. Beat on medium high until mixture is blended, about 1 minute. Add in vanilla and beat until combined. Add and beat eggs one at time, mixing well after each addition. Once all eggs are added, beat mixture until it becomes light and fluffy (it will resemble pancake batter, but slightly thinner).
  4. Turn mixer speed down to low and add the flour in three additions, alternating with the milk in two additions and mixing just until blended.
    Add 2 cups of the batter to the cocoa mixture and stir until blended.
  5. Using an ice cream scoop, pour two scoops of vanilla mixture into pan. Now alternate and pour one scoop of chocolate mixture on top of vanilla mixture. Continue to alternate between vanilla and chocolate layers until bundt pan is filled.
  6. Bake zebra pound cake for 50-60 minutes at 350 degrees F or until a cake tester inserted into the center comes out clean. Cool cake in the pan on a wire rack for 15 minutes. Invert the cake onto the rack and cool completely.

To make glaze

  1. Place chocolate and cream in a pan over low heat and stir until chocolate is melted. Set aside to cool for 10 minutes before using.

Assembly

  1. Pour the glaze on top and let glaze set, about 30 minutes. Slice and serve.
Image

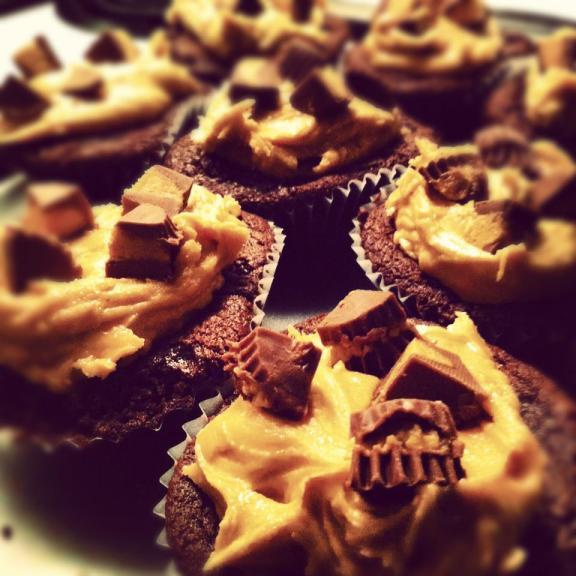
Last week was the second time a co-worker of mine brought in a humungous 2kg tub of peanut butter in for me, bless Costco! It was only right that I give some back in the form of these delightful cupcakes. And Happy Birthday Joylyn!

Dark Chocolate Cupcakes

Yield: 12 cupcakes

Prep Time: 20 minutes | Bake Time: 18-20 minutes | Cooling Time: 45 minutes

8 tablespoons (1 stick) unsalted butter, cut into 4 pieces
2 ounces bittersweet chocolate, chopped
½ cup (1.5 ounces) Dutch-processed cocoa powder
¾ cup (3.75 ounces) all-purpose flour
½ teaspoon baking soda
¾ teaspoon baking powder
2 eggs
¾ cup (5.25 ounces) granulated sugar
1 teaspoon vanilla extract
½ teaspoon table salt
½ cup (4 ounces) sour cream

1. Adjust oven rack to lower-middle position and preheat to 350 degrees F. (If you are using a non-stick muffin pan, heat the oven to 325 degrees F.) Line standard-size muffin pan with baking cup liners.

2. Combine butter, chocolate, and cocoa in medium heatproof bowl. Set bowl over saucepan containing barely simmering water; heat mixture until butter and chocolate are melted and whisk until smooth and combined. (Alternately, you can microwave the mixture at 50% power, stirring every 30 seconds until completely melted.) Set aside to cool until just warm to the touch.

3. Whisk flour, baking soda, and baking powder in small bowl to combine.

4. Whisk eggs in second medium bowl to combine; add sugar, vanilla, and salt until fully incorporated. Add cooled chocolate mixture and whisk until combined. Sift about one-third of flour mixture over chocolate mixture and whisk until combined; whisk in sour cream until combined, then sift remaining flour mixture over and whisk until batter is homogeneous and thick.

5. Divide the batter evenly among muffin pan cups. Bake until skewer inserted into center of cupcakes comes out clean, 18 to 20 minutes.

6. Cool cupcakes in muffin pan on wire rack until cool enough to handle, about 15 minutes. Carefully lift each cupcake from muffin pan and set on wire rack. Cool to room temperature before icing, about 30 minutes.

Peanut Butter Frosting

Yield: Enough to frost 12 cupcakes

Prep Time: 10 minutes

1 cup confectioners’ sugar
1 cup creamy peanut butter
5 tablespoons unsalted butter, at room temperature
¾ teaspoon vanilla extract
¼ teaspoon kosher salt
1/3 cup heavy cream

Place the confectioners’ sugar, peanut butter, butter, vanilla and salt in the bowl of an electric mixer fitted with a paddle attachment. Mix on medium-low speed until creamy, scraping down the bowl with a rubber spatula as you work. Add the cream and beat on high speed until the mixture is light and smooth.

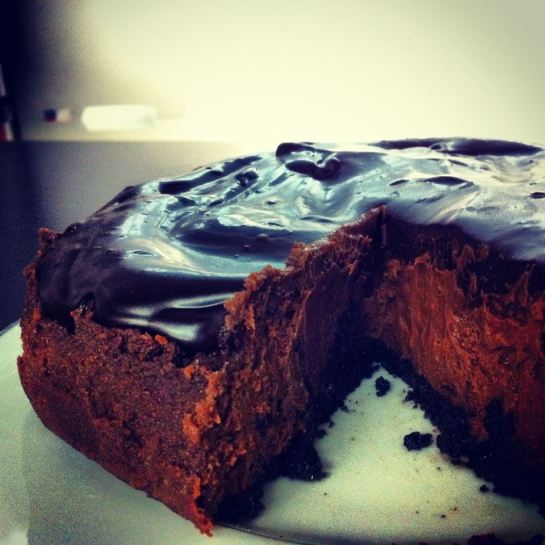
The name of this cheesecake is completely appropriate, and one of the best (if not the best) cheesecakes I have made. It’s a chocolate triple threat: oreo base, thick rich chocolate cheesecake topped with decadent ganache. Just talking about it makes me want to make it again.

It took me 4 hours to get through one piece…

Chocolate Lover’s Cheesecake

(from annies-eats.com)

yields at least 16 pieces

Ingredients

For the crust:
1½ cups finely ground chocolate cookie crumbs*
3 tbsp. sugar
4 tbsp. unsalted butter, melted

For the cheesecake: 
½ cup sour cream
2 tsp. vanilla extract
1 tsp. espresso powder or instant coffee granules
8 oz. bittersweet chocolate, finely chopped
3 (8 oz.) packages cream cheese, at room temperature
3 tbsp. unsweetened cocoa powder, sifted
¼ tsp. salt
1¼ cups sugar
3 large eggs, at room temperature

For the glaze: 
3 oz. bittersweet chocolate, finely chopped
6 tbsp. heavy cream
1 tbsp. unsalted butter, at room temperature

*Most recipes call for Nabisco Famous Chocolate Wafers but I can never find them.   I generally use Oreos and scrape off the cream filling.  

Directions

  • To make the crust, preheat the oven to 400˚ F.  Line the bottom of a 9-inch springform pan with a round of parchment paper.  In a medium bowl combine the cookie crumbs, sugar, and melted butter.  Stir with a fork until all the crumbs are moistened.  Add the crumb mixture to the springform pan and gently press about 1 inch up the sides of the pan.  Press the rest of the crumbs into an even layer over the bottom of the pan.  Bake for 10 minutes, then transfer to a wire rack to cool.  Reduce the oven temperature to 300˚ F.
  • To make the filling, combine the sour cream, vanilla, and espresso powder in a small bowl.  Whisk to blend and set aside.  Melt the chocolate in a double boiler or in the microwave (in short intervals, stirring frequently) until completely smooth.  Set aside and let cool slightly.
  • In the bowl of an electric mixer, combine the cream cheese, cocoa powder, and salt.  Beat on medium-high speed until smooth and fluffy, about 2 minutes.  Beat in the sugar and continue mixing about 2-3 minutes more, scraping down the bowl as needed.  Add the cooled chocolate to the bowl and mix on medium-low speed.  Beat in the sour cream mixture just until evenly blended.  Beat in the eggs one at a time, mixing each just until incorporated.  (Don’t over-beat once the eggs are added or the cheesecake will puff too much.)
  • Pour the filling into the cooled crust.  Bake until the center jiggles very slightly when nudged, about 50-60 minutes. Transfer to a wire rack to cool for 1-2 hours.  Then cover and refrigerate until thoroughly chilled, at least 8 hours or overnight.  (In my opinion, the greatest disservice you can do your cheesecake is not chilling it long enough.  Always let it chill completely through.  I promise, it will be worth the wait!)
  • To make the glaze, place the chopped chocolate in a small heatproof bowl.  Bring the cream to a simmer in a small saucepan or in the microwave.  Pour over the chocolate and let stand briefly, 1-2 minutes.  Whisk just until a smooth ganache has formed.  Whisk in the butter until completely incorporated.  Pour the glaze in an even layer over the chilled cheesecake.  Chill thoroughly.
  • To serve, carefully unmold the sides of the springform.  Run a sharp knife under hot water to warm the blade, and wipe dry with a towel.  Slice cleanly, wiping the blade between slices and reheating as necessary.  Serve chilled.

Hello! Long time, no see. You look great.

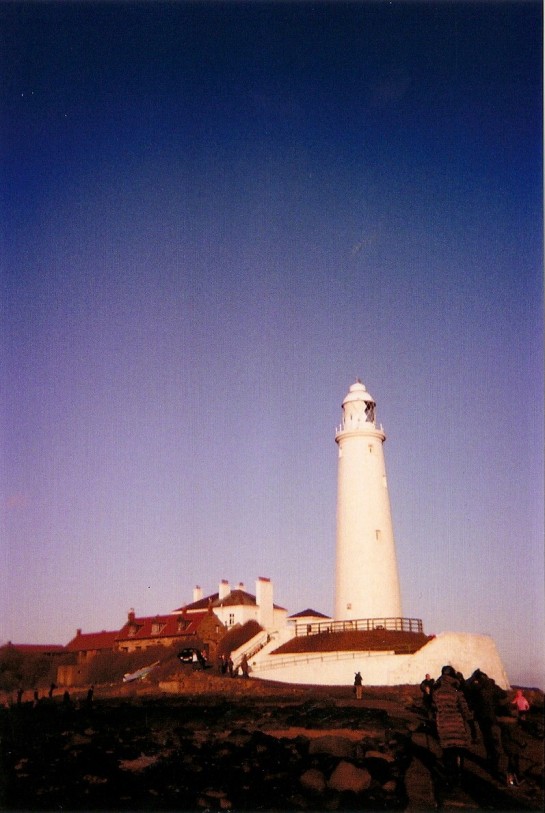
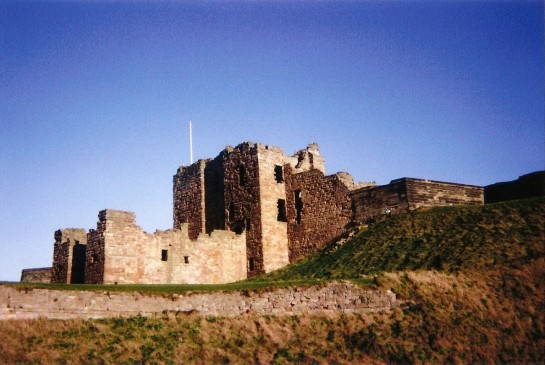
I had an amazing time in England at Christmas. Being with my family in Tynemouth, friends and the ocean is lovely. My favourite thing we did was going to a lighthouse near where I live. (and watching lots of Sherlock and playing Scrabble).

My dream home would be a lighthouse / astronomy tower / observatory hybrid. The light of the lighthouse was especially impressive, beautiful really.

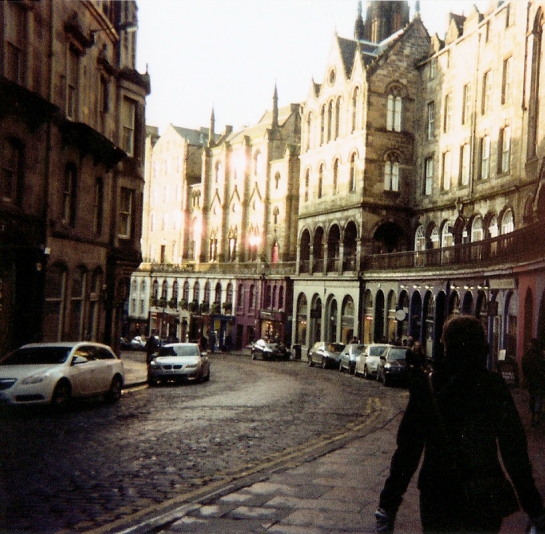
We went to Edinburgh with my awesome aunt. I can’t believe I hadn’t been there since I was tiny, it’s a stunning city.

Things I took for granted growing up include..

1    living right by a ruined monastery from 1095… that is SO OLD and amazing. It’s on a cliff, right by the sea.

2    Sunrise by the sea.

3      The sea. Oooooh the sea!

It’s always so hard to leave but I’m lucky to be able to come home to such a breathtaking place. Thanks mum and dad. x

I am a very very bad blogger. Awful, infact, you may say.

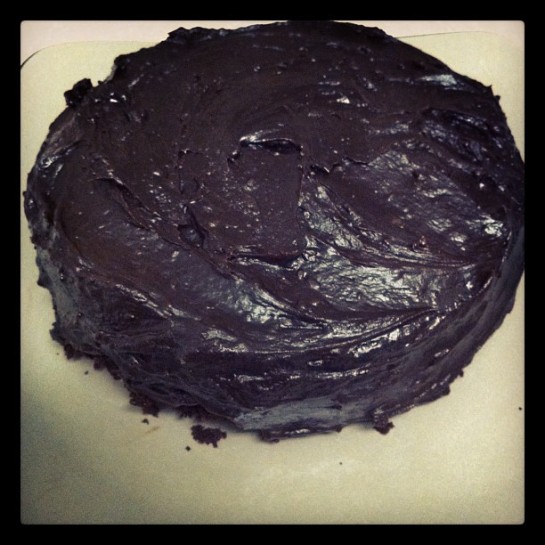
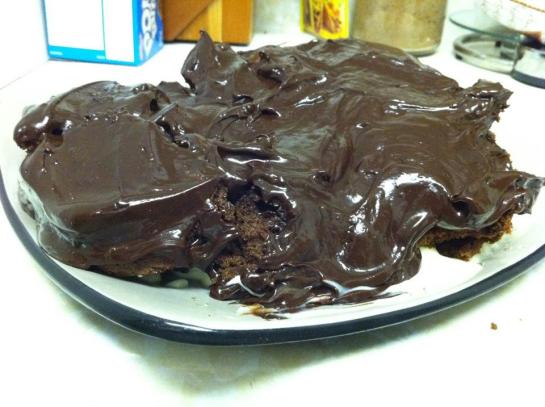
But here is a great recipe, no, better than great, a super lovely recipe from my favourite baking slut, Nigella Lawson. I’ve gone on a bit of kick with chocolate cakes recently, they’re relatively simple to make but you end up getting something quite impressive (that is if they don’t self-destruct, as quite often happens..)

Make this and share it (or not) with people you like.. they will then like you more.

Devils Food Cake

(from Nigella Lawson’s Kitchen)

Ingredients

  • for the cake:
  • 50g best-quality cocoa powder, sifted
  • 100g dark muscovado sugar
  • 250ml boiling water
  • 125g soft unsalted butter, plus some for greasing
  • 150g caster sugar
  • 225g plain flour
  • 1⁄2 teaspoon baking powder
  • 1⁄2 teaspoon bicarbonate of soda
  • 2 teaspoons vanilla extract
  • 2 eggs
  • for the frosting:
  • 125ml water
  • 30g dark muscovado sugar
  • 175g unsalted butter cubed
  • 300g best-quality dark chocolate finely chopped
  • 2 x 20cm sandwich tins

Method

Serves: 10 – 12
  1. Preheat the oven to 180°C/gas mark 4.
  2. Line the bottoms of both sandwich tins with baking parchment and butter the sides.
  3. Put the cocoa and 100g dark muscovado sugar into a bowl with a bit of space to spare, and pour in the boiling water. Whisk to mix, then set aside.
  4. Cream the butter and caster sugar together, beating well until pale and fluffy; I find this easiest with a freestanding mixer, but by hand wouldn’t kill you.
  5. While this is going on – or as soon as you stop if you’re mixing by hand – stir the flour, baking powder and bicarb together in another bowl, and set aside for a moment.
  6. Dribble the vanilla extract into the creamed butter and sugar – mixing all the while – then drop in 1 egg, quickly followed by a scoopful of flour mixture, then the second egg.
  7. Keep mixing and incorporate the rest of the dried ingredients for the cake, then finally mix and fold in the cocoa mixture, scraping its bowl well with a spatula.
  8. Divide this fabulously chocolatey batter between the 2 prepared tins and put in the oven for about 30 minutes, or until a cake tester comes out clean.
  9. Take the tins out and leave them on a wire rack for 5–10 minutes, before turning the cakes out to cool.
  10. But as soon as the cakes are in the oven, get started on your frosting: put the water, 30g muscovado sugar and 175g butter in a pan over a low heat to melt.
  11. When this mixture begins to bubble, take the pan off the heat and add the chopped chocolate, swirling the pan so that all the chocolate is hit with heat, then leave for a minute to melt before whisking till smooth and glossy.
  12. Leave for about 1 hour, whisking now and again – when you’re passing the pan – by which time the cakes will be cooled, and ready for the frosting.
  13. Set one of the cooled cakes, with its top side down, on a cake stand or plate, and spread with about a third of the frosting, then top that with the second cake, regular way up, and spread the remaining frosting over the top and sides, swirling away with your spatula. You can go for a smooth look, but I never do and probably couldn’t.

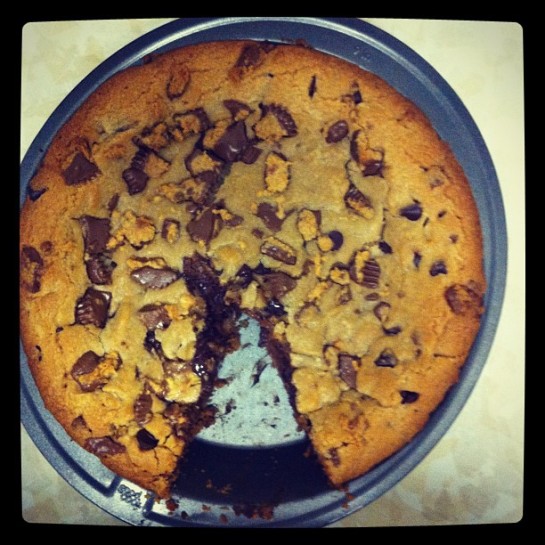
After a number of baking failures, I felt I needed to try something so easy, even I wouldn’t mess it up.

This takes about 10 minutes to prepare, simple! And it is gooey, chocolatey and more-ish goodness. I am ashamed how fast this disappeared.

2 sticks (1 cup) butter, at room temperature
1 cup brown sugar
1/2 cup sugar
2 eggs
2 teaspoons vanilla
2 cups plus 2 tablespoons flour
1 teaspoon baking soda
1/2 teaspoon salt
2 cups semi-sweet chocolate discs (may substitute chocolate chips)
1 1/4 cups Reese’s Peanut Butter Cups (can be substituted with M&Ms or other chocolate)

  1. Preheat oven to 375º.  Line a 14 inch deep round pizza pan with parchment and grease entire pan including the paper.  Set aside.
  2. Cream the butter and sugars in a large bowl.  Add eggs and mix to combine.  Add vanilla and mix well.  Add dry ingredients, and stir till incorporated. Mix in chocolate discs and 1/2 cup M&Ms, reserving 3/4 cup to garnish the top.  Spread dough evenly in prepared pan. Use remaining M&Ms to decorate the top of the cookie cake.
  3. Bake for 20-25 minutes.  Cool and remove from pan if desired.  Slice and serve.

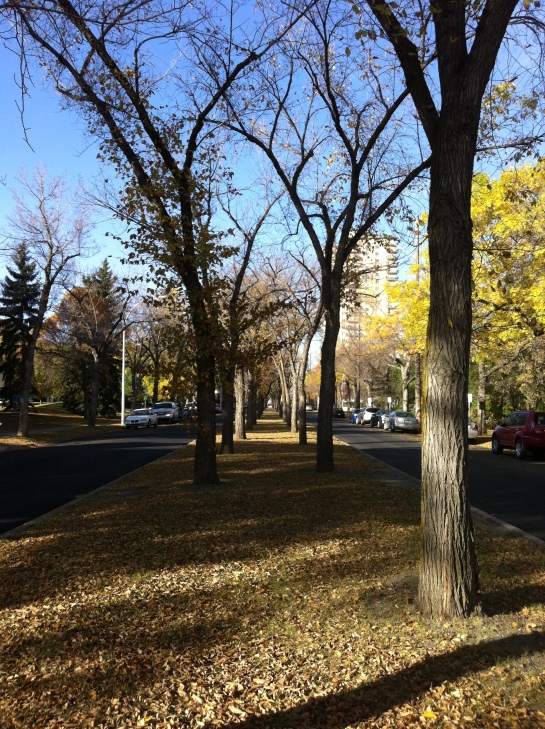
Autumn/Fall is here! Hurray! I think this is my favourite season. Not too hot, not too cold. Amazing colour on the trees and time for the best time for good comfort cooking as the temperature starts to drop.

So in this Thanksgiving period, it’s appropriate to do some pumpkin baking. Instead of making a pumpkin pie, Megan found a recipe for whoopie pies and seeing as I hadn’t made whoopie pies before, then it was a perfect choice.

BUT I accidently doubled the size of the cookies so they turned out to be DOUBLE the size they were meant to be, ARGH. Oh well, they were still delicious.

Pumpkin Whoopie Pies

Cookies

  • 1/2 can(s) (15-oz. solid-pack) pumpkin
  • 1 cup(s) (packed) brown sugar
  • 1/2 cup(s) vegetable oil
  • 1 large eggs
  • 1/2 teaspoon(s) vanilla extract
  • 1 1/2 cup(s) flour
  • 3/4 teaspoon(s) cinnamon
  • 5 1/2 teaspoon(s) ginger
  • 1/2 teaspoon(s) baking soda
  • 1/2 teaspoon(s) baking powder
  • 1/4 teaspoon(s) salt
  • 1/4 teaspoon(s) (ground) cloves

Filling

  • 1/4 cup(s) vegetable shortening, softened
  • 1 cup(s) confectioners’ sugar
  • 1/2 teaspoon(s) vanilla extract
  • 1 large egg whites

Directions

  1. Preheat oven to 350ºF. Line two baking sheets with parchment paper or grease with vegetable shortening. In large bowl, beat together pumpkin, brown sugar, oil, eggs and vanilla extract with electric mixer until blended.
  2. In a separate bowl, whisk flour, cinnamon, ginger, baking soda, baking powder, salt and cloves. Add to pumpkin mixture and beat until smooth.
  3. Drop batter by tablespoons onto prepared pans. Bake 10 to 12 minutes, rotating pans halfway through, until tops spring back when lightly touched. Remove from pans to wire racks to cool completely.
  4. Meanwhile, beat together all filling ingredients with electric mixer on high speed until fluffy.Spread 1/2 tsp. filling onto flat side of one cookie and top with another. Repeat with remaining cookies and filling.

Stunning.

This was too good not to share. Text from NASA:

The rare transit of Venus across the face of the Sun in 2004 was one of the better-photographed events in sky history. Both scientific and artistic images flooded in from the areas that could see the transit: Europe and much of Asia, Africa, and North America. Scientifically, solar photographers confirmed that the black drop effect is really better related to the viewing clarity of the camera or telescope than the atmosphere of Venus. Artistically, images might be divided into several categories. One type captures the transit in front of a highly detailed Sun. Another category captures a double coincidence such as both Venus and an airplane simultaneously silhouetted, or Venus and the International Space Station in low Earth orbit. A third image type involves a fortuitous arrangement of interesting looking clouds, as shown by example in the above image taken from North Carolina, USA. The next transit of Venus across the Sun will be in 2012 June. “


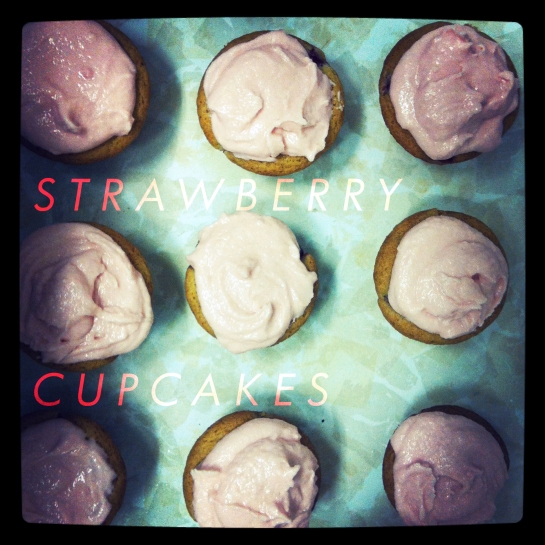
No chocolate here today, just some delicious strawberries bundled up in delicious cupcake. I took these to a party and sort of wish I’d kept a few at home because they were that tasty. The icing is a buttercream with a dash of red food colouring to get that pink tint but next time I want to get some strawberry flavour into the icing too.


Strawberry Cupcakes

(from annie-eats.com

Yield: about 18 cupcakes

Ingredients:
For the cupcakes:
2 ½ cups cake flour
1 tsp. baking soda
¼ tsp. salt
½ cup unsalted butter
1 ½ cups sugar
2 eggs
1/3 cup buttermilk
¼ cup oil
1 tsp. vanilla extract
2 cups chopped strawberries

For the frosting:

20 tbsp. (2 ½ sticks) unsalted butter, softened
2 ½ cups confectioners’ sugar, sifted
1/8 tsp. salt
2 tsp. vanilla extract
2 tbsp. heavy cream/ a drop of red food colouring

Directions:
Preheat the oven to 350°.  Line cupcake pans with paper liners.

Sift flour, salt and baking soda into a medium bowl.  Set aside.  In the bowl of an electric mixer, cream butter and sugar until light and fluffy.  Add eggs one at a time until combined.  Add buttermilk, oil and vanilla and beat until combined.  Add flour mixture and stir until just combined.  Fold in chopped strawberries.  Fill cupcake wells ¾ full with batter.  Bake for 20 minutes or until a toothpick inserted in the center comes out clean. Cool completely on a wire rack.


In a stand mixer fitted with the whisk attachment, beat butter at medium-high speed until smooth, about 20 seconds.  Add confectioners’ sugar and salt; beat at medium-low speed until most of the sugar is moistened, about 45 seconds.  Scrape down the bowl and beat at medium speed until mixture is fully combined, about 15 seconds.  Scrape bowl, add vanilla, heavy cream and food colouring, and beat at medium speed until incorporated, about 10 seconds.  Then increase the speed to medium-high and beat until light and fluffy, about 4 minutes, scraping down bowl once or twice.

Frost cupcakes. Eat.